
An electric rooflight has one job a manual one does not: it needs power. Getting that power from the consumer unit or a socket to a motor in the roof, without a trailing cable in the room, is the part of the project people ask about least and regret most when it is left to the end.
Electric rooflight wiring is a matter of routes and positions more than of kit. The questions are where the supply comes from, how the cable travels, where the control sits, and how the finished room looks once the plaster is dry. We settle them at a free survey so the fixed written quote that follows rests on a plan.
The supply for an electric skylight
The power supply for an electric skylight starts with a choice between two kinds of unit. VELUX lists both solar and electric roof windows. A solar model draws on daylight, so the question of a cable run from the house looks different from the one for a mains-fed model. An electric model needs a connection to the house supply.
Which one suits you depends on the room, on the roof, and on what is already behind the ceiling. A survey answers that with the loft hatch open and the stairs in front of us, and any list of preferences made in advance is only a starting point.
If the unit is mains-fed, the practical question is the distance between the window and the nearest suitable point on the house circuits. A window over a landing, with a loft above, may be a short step from an existing supply. A flat roof unit above a kitchen extension, with a sealed ceiling void, can be a longer one. Neither is a problem; both need a route.
The motor and any sensor on the unit also have their own instructions. The manufacturer's installation sheet sets out what the unit needs, and the electrical work follows that sheet.
Wiring terms
- Consumer unit
- The box of switches and fuses where the house circuits start.
- Spur
- A branch taken off an existing circuit to feed one more item.
- Reveal
- The angled lining that joins the window frame to the ceiling and wall.
- Void
- The hidden space above a ceiling or behind a lining where cables can run.
Following the cable from supply to sash
A cable needs a clear, short path, and the house decides what that is. In a loft room under a pitched roof, the run may go through the rafter space and down behind the lining of the reveal. Over a stairwell, it may follow a joist line before turning into the opening. On a flat roof, it has to cross the roof build-up in a space already shared with insulation and the roof deck.
Existing ceilings change the picture. Where the ceiling is already plastered and decorated, every metre of cable needs to be worth the disturbance, and a route through the void above usually beats cutting channels in finished surfaces. Where plastering is still to be done, the cable goes in first and nobody sees it again.
This is why the order of work matters. The opening is cut, the unit is flashed into the roof covering, and the cabling is placed while the structure is still open to view. Closing the lining before the wiring is settled forces a second visit and a second round of repairs, and avoiding that is the main reason to plan the run at the start.
Tell us what is already in the loft: an old light fitting, a water tank, a run of pipes, a bundle of cable from a previous job. Anything that crosses the route matters, and a photograph from the loft hatch helps the survey.
Say too whether the loft is boarded or insulated, and whether the ceiling below was redone recently. A freshly decorated room makes everyone more careful about where a cable goes, and knowing that early lets the route be chosen to spare it. The same goes for a stairwell with a high ceiling that needs scaffold or a tower to reach: access affects how the work is planned, and it is better raised at the start.
How a cable route is planned
- Find the supply Locate the nearest suitable point on the house circuits, or confirm that a solar unit makes a cable run unnecessary.
- Walk the void Check the loft or ceiling space for pipes, tanks, insulation and anything else on the path.
- Choose the entry Pick the point where the cable meets the window, usually inside the reveal.
- Fix the order Agree when the cable goes in relative to the lining and plaster, so nothing is opened twice.
Where the switch or control goes
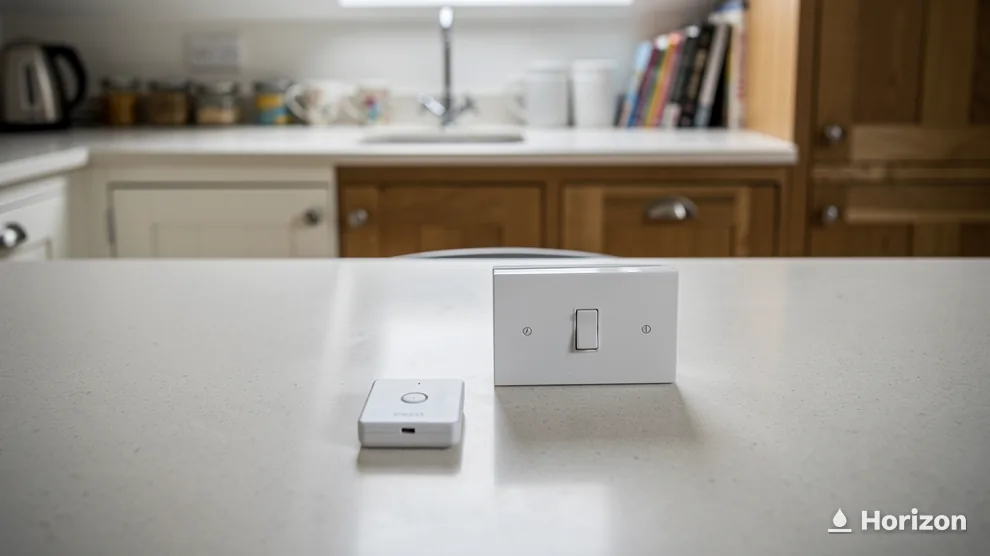
A switch on the wall is the plainest control for an electric rooflight. A hand-held remote adds flexibility where the unit offers one. Either way, the control belongs where someone standing in the room can reach it without a chair.
Think about who will use it. A bedroom under the slope has a different answer from a landing where children pass, or a kitchen where hands can be wet or floury. Beside the door suits a switch; a remote can live in a drawer, on a shelf or on a charging dock, and each of those is a place it may go missing.
Height and position are practical points that spoil a good installation if ignored. A switch mounted behind an opened door or a tall wardrobe is a switch nobody uses. A control mounted next to a cooker is in the wrong place for a different reason.
If the household includes someone who finds a wall switch awkward, say so at survey. The right position for them is easiest to arrange before the cable is run. If you are still deciding between powered and manual, our comparison of electric and manual opening rooflights sets out the trade-offs.
| Room | Control choice | Where it sits |
|---|---|---|
| Loft bedroom | wall switch or remote | by the door, within reach of the bed |
| Landing over stairs | wall switch | at the stair head, out of the swing of doors |
| Kitchen extension | remote or wall switch | away from the hob and the sink |
The electrical work itself
Connecting a motor to the house supply is electrical work, and it belongs with a qualified electrician. That applies to a new circuit, a spur from an existing one and the final connection to the unit. It is the reason the wiring stage is its own conversation and not a footnote to the fitting of the window.
What the electrician needs from the rest of the job is access and a plan: a route that has been agreed, a unit whose requirements are known, and a control position that will not move. The window side of the job, the opening and the weathering, should leave the route in a state that suits the electrical work.
Raise two questions at the survey: what the electrical work consists of, and who will carry it out. Settle both before the fixed written quote is drawn up, and the plan and the paperwork will agree with each other. Nothing about the supply should be a surprise on the day the window goes in.
It is worth asking the electrician, too, what the finished installation needs from you afterwards, such as where the isolating switch is and how the circuit is labelled at the consumer unit. A household that knows where the supply can be switched off is better placed for any later maintenance.
Where the work is notifiable, we handle the Building Regulations notification with local authority building control or a registered building control approver. Putting in a unit of this kind is building work in the eyes of the regulations, since rooflights and roof windows both count as controlled fittings. The page on skylight Building Regulations in Wales sets out what follows from that.
Hiding the wiring in the reveal
A well-finished electric rooflight shows a window and a control, and nothing else. The cable runs inside the reveal or behind the lining, so the eye never meets a clip or a duct. That tidy result is the product of the route, the order of work and the finish being decided together.
The reveal is the natural hiding place. It is a space built to join the window to the ceiling, and a cable that enters at the top of the lining and stays inside it never shows on the plaster. Where the reveal is shallow, as it can be in a thin roof build-up, the entry point needs thought, since the less depth there is the less room a cable has.
Keep the roof's watertightness in the picture too. Any cable passing through the roof layers has to be taken in a way that leaves the weathering intact, and the flashing around an opening unit is the same flashing that protects the wiring. For the roof side of that story, our page on whether a skylight will leak covers what keeps water out.
Finally, think about the future. A control cable, a spare conduit or a clearly marked route can make a later change simpler. Mention at survey if you expect to add a second window or a smart control later, so the route can allow for it.
Consents and the Welsh rules
The wiring sits inside a project that has its own consents. A new rooflight opening will generally call for approval under the Building Regulations, for reasons the Welsh Government sets out, among them that the rafters or joists usually have to be altered to form the opening, that the roof must carry the load, and that the unit needs good energy performance. A new or replacement roof window should reach 1.4 W/m²K in Wales, and a rooflight on a kerb or upstand 2.2 W/m²K, under Approved Document L (Wales).
Planning has separate rules. In a conservation area, the Gower AONB, Bannau Brycheiniog National Park or a World Heritage Site, a new rooflight in a roof slope needs a planning application. Elsewhere a house rooflight can be permitted development if it projects no further than 150 mm from the original slope and rises no higher than the highest part of the original roof. Flats are outside householder permitted development. The detail lives in our planning guide for Wales.
None of this changes the electrical route, but it does set the order: consents first, then the opening, then the wiring and finish. To start, ask for a survey.